Memorial Day is almost here, and with it comes the first real wave of summer: pool parties, lake weekends, beach days, and long backyard evenings worth every minute. Ribs belong at the center of all of it. Knowing how to grill ribs on a gas grill is a skill that pays off at every gathering from here to Labor Day, and your Summerset grill makes the process as satisfying as the meal itself.
Set up correctly, your gas grill produces ribs that are deeply smoky, pull-clean tender, and finished with a caramelized crust that brings people back to the table for seconds.
QUICK ANSWER: Three things produce exceptional ribs on a gas grill: indirect heat, a wood chip smoke packet, and patience. Set the grill to 250°F, smoke the ribs for two hours, wrap them tightly for 1.5 hours, then glaze for 15 minutes. Total cook time: 4 to 5 hours.
Why Gas Grills Get a Bad Reputation for Ribs
Gas burns cleaner than charcoal, which leads some cooks to assume it falls short on smoke and tenderness. A gas grill offers what charcoal rarely provides: total temperature control. You turn a dial instead of chasing airflow, and that steadiness, applied to a low-and-slow cook, produces results worth repeating all summer.
Before starting a long cook, check your propane level. A four-hour session burns a fraction of a full tank, but running out midway through turns a great afternoon into a frustrating one.
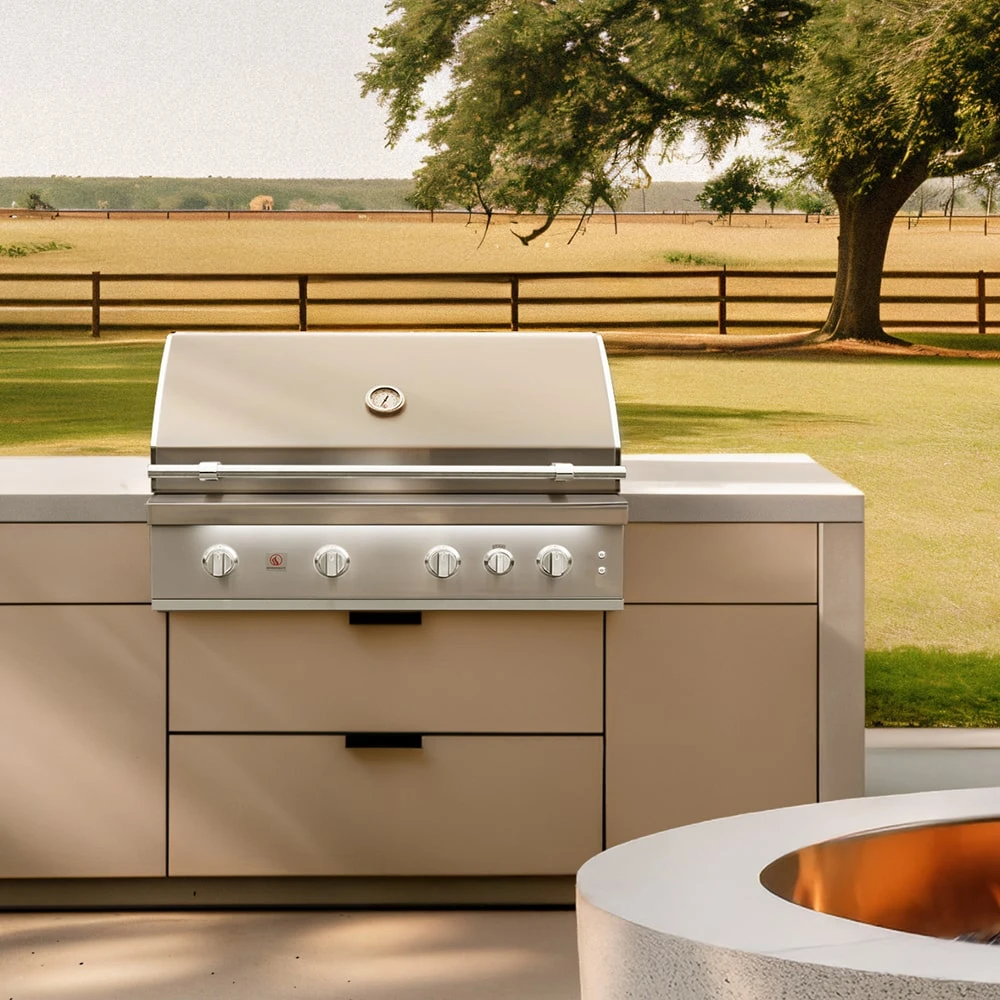
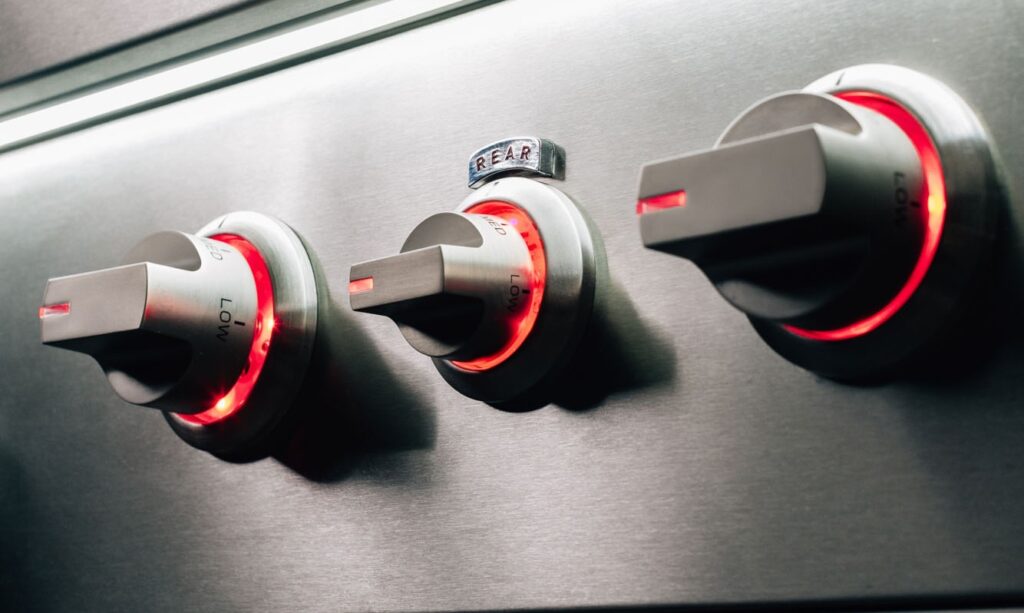
SUMMERSET TIP: On Summerset built-in grills, the stainless steel burner layout makes two-zone cooking straightforward. One dial sets the heat source. The opposite side becomes your low-and-slow zone. No adapting. No improvising.
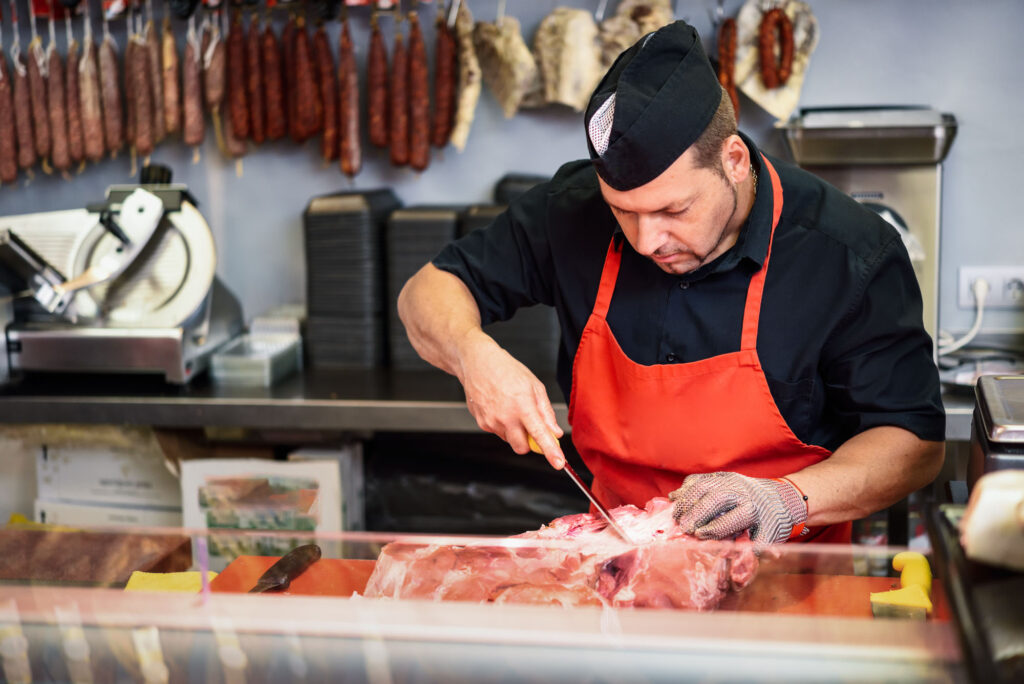
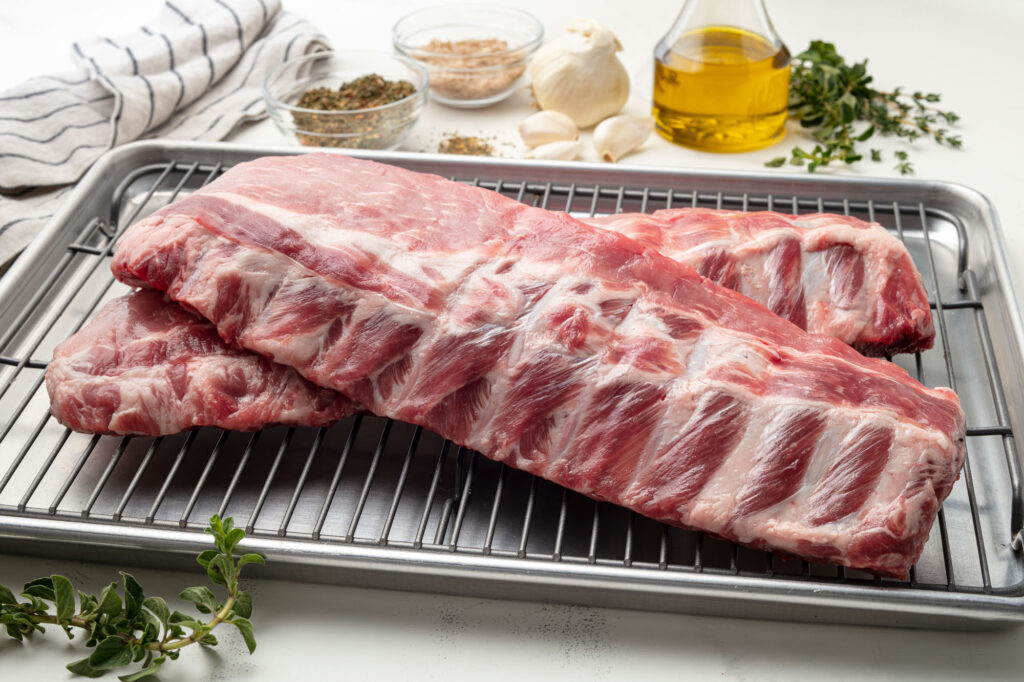
Choosing Your Cut at the Butcher Counter
Great results start before the grill ever lights. Three cuts are worth knowing:
- Baby back ribs are leaner, shorter racks that finish in 3.5 to 4 hours. A strong choice for a busy Saturday when you want a great meal without all-day monitoring.
- St. Louis cut spare ribs are trimmed into a uniform rectangle for even cooking, with more fat between the bones for richer flavor and superior bark. Budget 4.5 to 5 hours. This cut rewards the extra time.
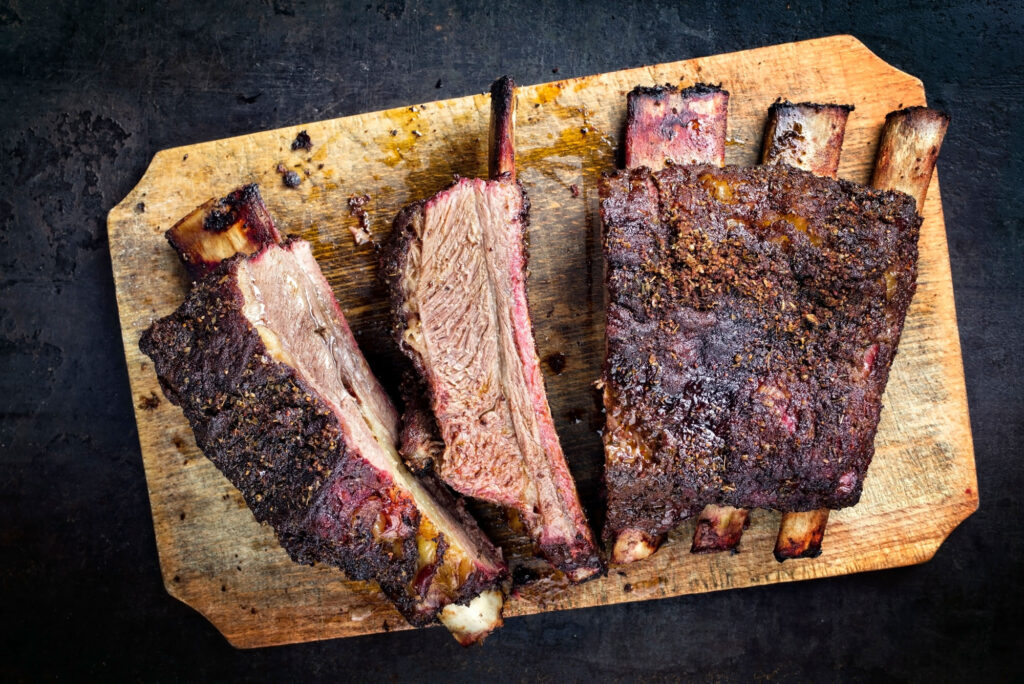
- Beef ribs are a different experience entirely. Larger, meatier, and richly marbled, beef back ribs and short ribs bring deep, bold flavor to the grill. Plan on 6 or more hours at 275°F using the same indirect setup. Skip the foil wrap and let the fat do the work on its own. The result is something closer to a backyard centerpiece than a weeknight dinner.
Whichever cut you choose, look for even thickness across the rack and visible marbling between the bones. Pass on anything labeled “flavor-injected” or pre-marinated. High-sodium solutions muddy the final taste and work against your dry rub.
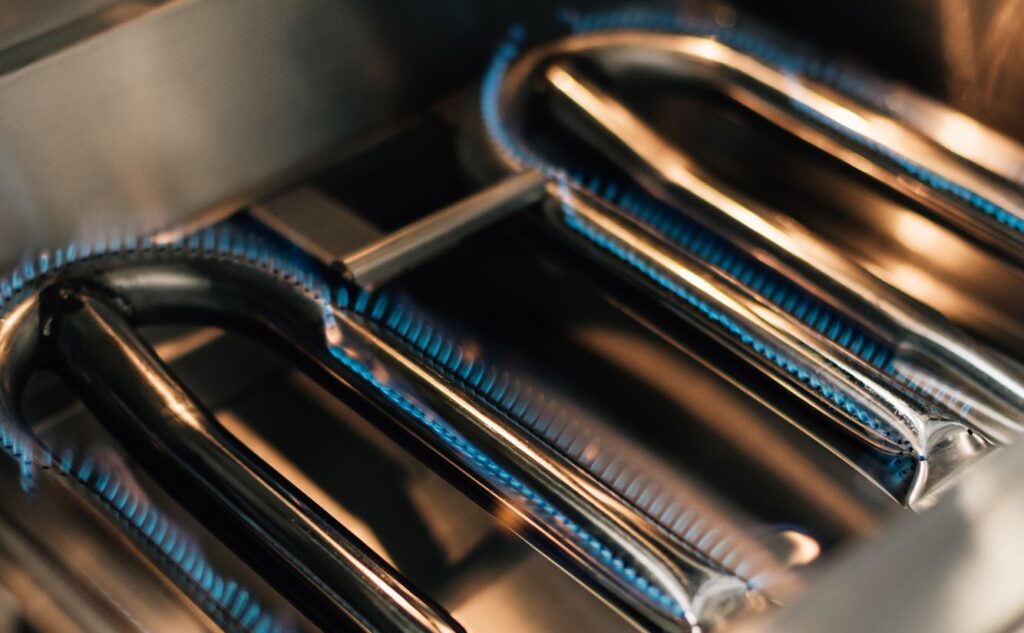
Setting Up Two-Zone Heat for Gas Grill Ribs
Two-zone cooking is the foundation of this method. On a three-burner grill, set the left burner to medium and leave the center and right burners completely off. On a two-burner setup, turn one side on and leave the other cold. Ribs always sit over the side with no active flame beneath them.
Indirect heat matters because ribs hold dense connective tissue that only breaks down through sustained, gentle warmth. Direct flame chars the outside long before the inside softens. At a steady low temperature, the collagen converts to gelatin, and that is what gives you the pull-clean, bone-releasing result you’re after.
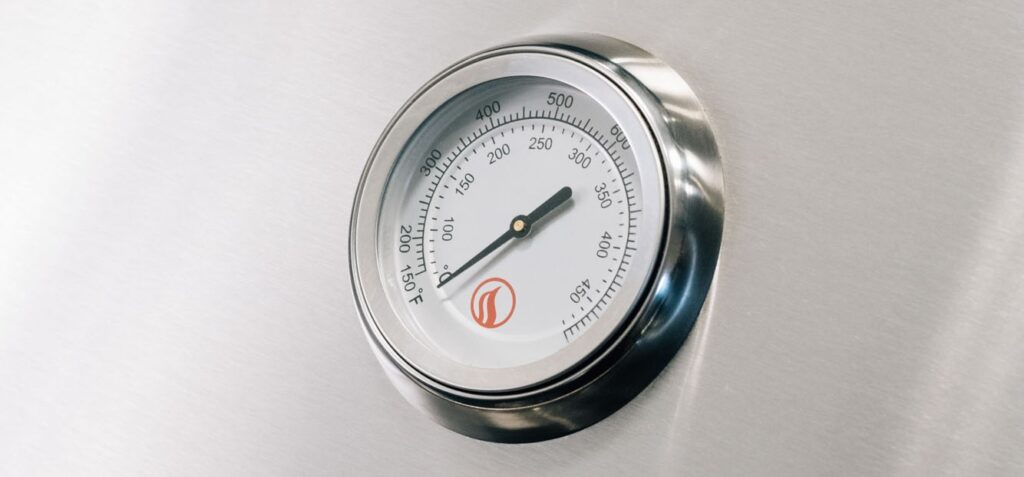
Target temperature at the grate: 225°F to 275°F. The dome thermometer on most grills reads air at lid level, which can run 30 to 50 degrees hotter than the actual cooking surface. A separate probe thermometer clipped near the meat gives an accurate reading throughout the cook.
Coaxing Real Smoke from a Gas Grill
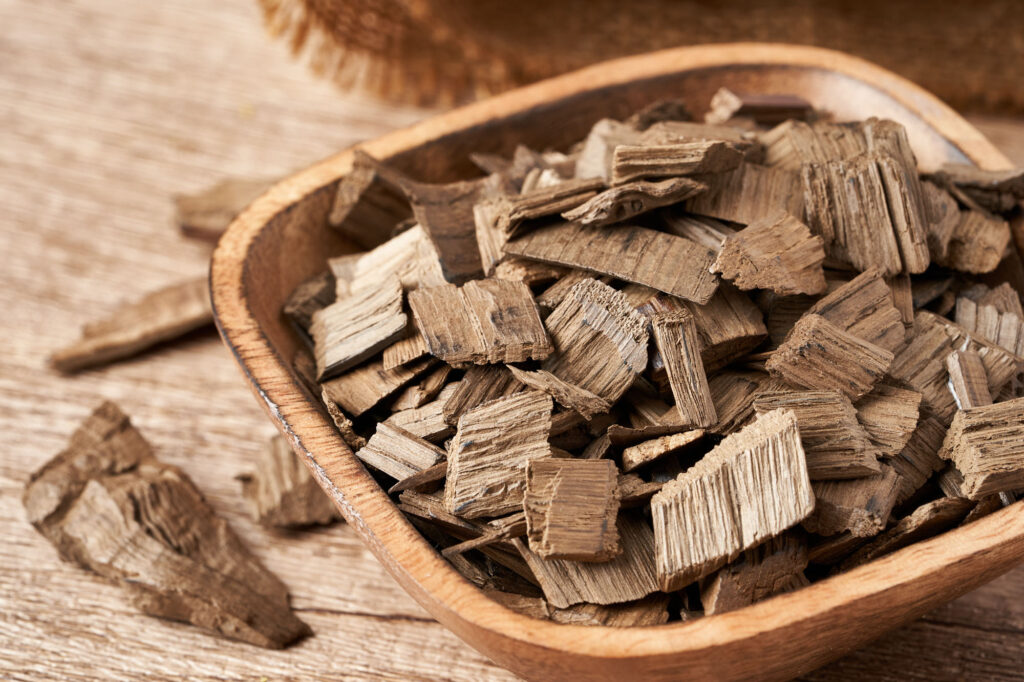
Smoke is what most cooks assume a gas grill cannot deliver. With the right accessory, it can. Summerset’s stainless steel Smoker Trays are designed specifically for this. Built from 304-grade stainless steel, each tray slides directly between the flame tamers and cooking grates on compatible Sizzler, Sizzler Pro, and TRL Pro series grills, sitting right at the heat source where it can do its job properly. Fill it with wood chips, place the rack on the grill, and smoke builds naturally as the chips heat up. No foil, no improvising, no checking whether your packet is positioned correctly.
If your grill model does not include a dedicated smoker tray, a foil packet is a good alternative. Soak one cup of wood chips for 30 minutes, drain, pile them onto a sheet of heavy-duty aluminum foil, seal into a packet, and poke 8 to 10 holes across the top. Set it directly on the lit burner.
With either method, the timing is the same. The tray or packet will produce smoke within 10 to 15 minutes of the grill reaching temperature. Replace or refresh wood chips every 45 to 60 minutes through the first two hours of the cook. After that, the meat has absorbed most of the smoke it will take on, and additional chips offer diminishing returns in flavor.
Wood type shapes the final flavor profile:
- Cherry or apple produces mild, sweet smoke and a deep mahogany color on the bark. Best used when smoke should play a supporting role rather than dominate the pork’s natural flavor.
- Hickory is bold and assertive, the right pick for a classic American BBQ character that stands up to a heavily spiced rub.
- Pecan lands between the two in intensity: rich and nutty without hickory’s edge. A dependable all-purpose choice that pairs well with nearly any sauce style.

The Rub: Seasoning That Builds a Bark
A dry rub does two things at once: it seasons the meat from the surface inward, and it builds the bark. That slightly firm, caramelized exterior holds smoke, texture, and flavor together through the entire cook.
SUMMERSET HOUSE DRY RUB FOR ONE FULL RACK: 2 tsp kosher salt | 2 tbsp dark brown sugar | 1 tbsp smoked paprika | 1 tsp black pepper | 1 tsp garlic powder | 1 tsp onion powder | 1/4 tsp cayenne
Before applying the rub, remove the membrane from the underside of the rack. Grip one corner with a dry paper towel and pull steadily. The membrane peels away in one clean sheet. Left on, it turns chewy and prevents seasoning and smoke from reaching the meat properly.
Press the rub firmly into both sides with your hands. Do not lightly dust it on. Let the rack rest at room temperature for 30 minutes before it goes on the grill. Rubbing the night before and refrigerating overnight drives the seasoning noticeably deeper into the meat.
How to Grill Ribs on a Gas Grill: The Three-Phase Method
The method below covers pork ribs: baby backs and St. Louis cut. Beef ribs follow the same indirect setup but skip the foil wrap and run longer at 275°F. Plan on 4 to 5 hours for pork, 6 or more for beef. Each phase builds on the last, and the time is part of what makes the result worth it.
Phase 1: The Smoke Bath (Hours 1 to 2) Lay the rack bone-side down on the indirect side of the grill. Close the lid and start your first smoke packet. Avoid opening the lid for at least 45 minutes. By hour two, the surface should show reddish-brown color, and the rub should feel firmly set. Tenderness builds in the next phase. The Quest Series features include Smoker Box, Rib Rack, and Multi-Position Warming Rack, perfect for smoking ribs.
Phase 2: The Wrap (Hours 2 to 3.5) Move the rack to a large sheet of heavy-duty foil, bone-side down. Pour in 2 to 3 tablespoons of apple juice or apple cider vinegar, then seal the foil tightly around the ribs. Return the wrapped rack to the indirect zone. Moist heat trapped inside the packet slowly and thoroughly permeates the remaining connective tissue. After 1.5 hours, the bones at the ends should have pulled back from the meat by roughly a quarter inch.
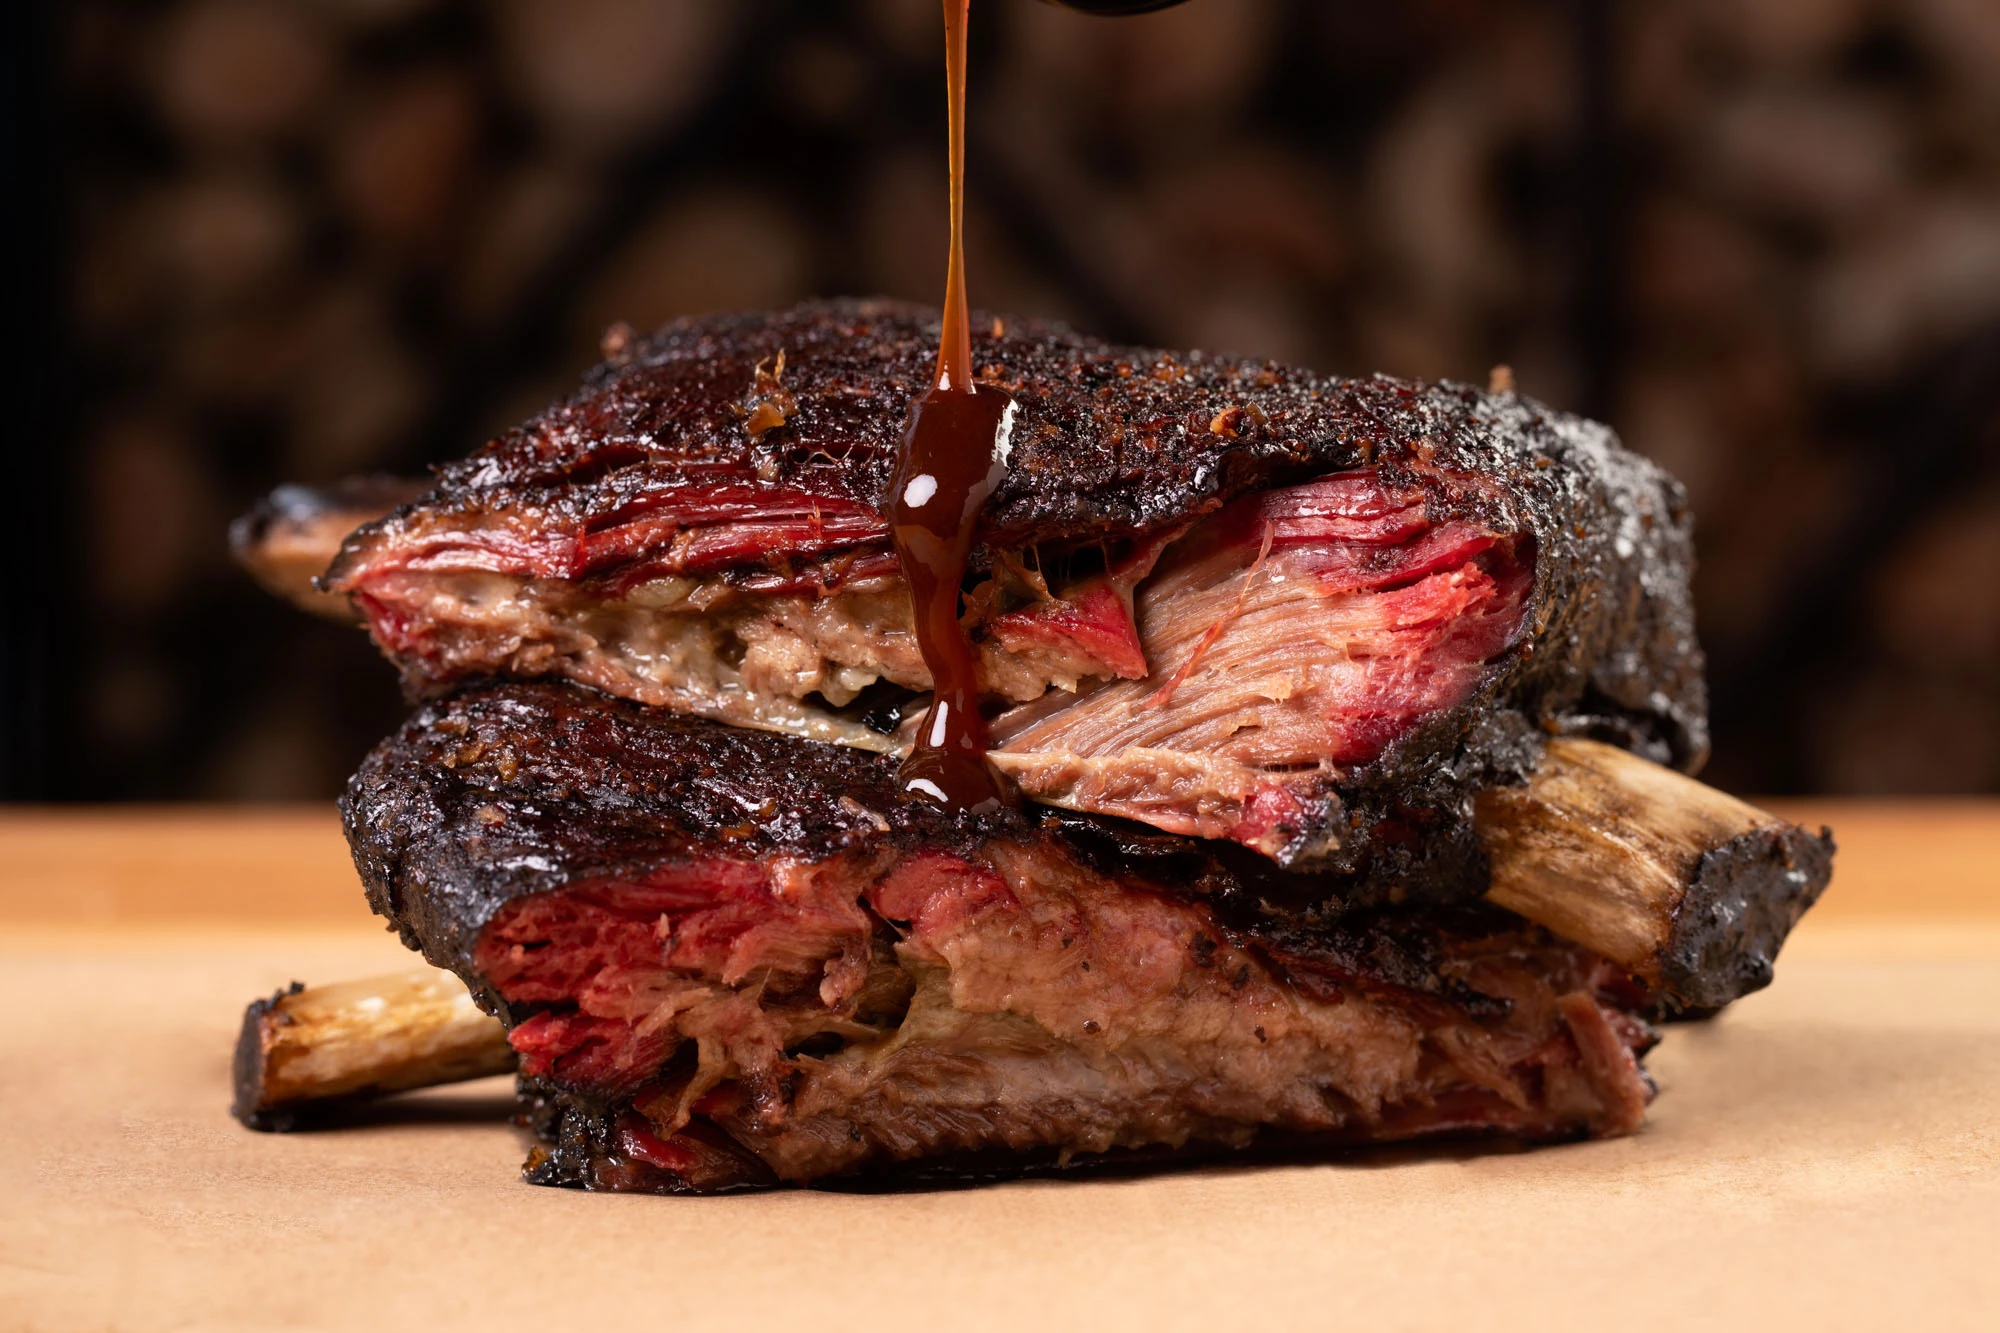
Phase 3: The Glaze and Char (Final 15 to 20 Minutes) Pull the rack from the foil and return it directly to the grate. Brush BBQ sauce across the surface and close the lid. Over the next 10 to 15 minutes, the sauce tightens and caramelizes into a glossy, lacquered finish. Stay attentive during this phase, because sugar burns fast above 325°F. A second coat of sauce during the final five minutes adds depth and richness to the glaze.
For sauce selection, a molasses-forward Kansas City style pairs well with hickory smoke. A vinegar-based Carolina sauce cuts through the richness of St. Louis cut spare ribs with more precision.
Three Ways to Confirm the Ribs Are Ready
- The bend test: Lift one end of the rack with tongs. Well-cooked ribs flex and bow noticeably, with the surface cracking slightly. A rack that stays rigid and flat needs more time on the grill.
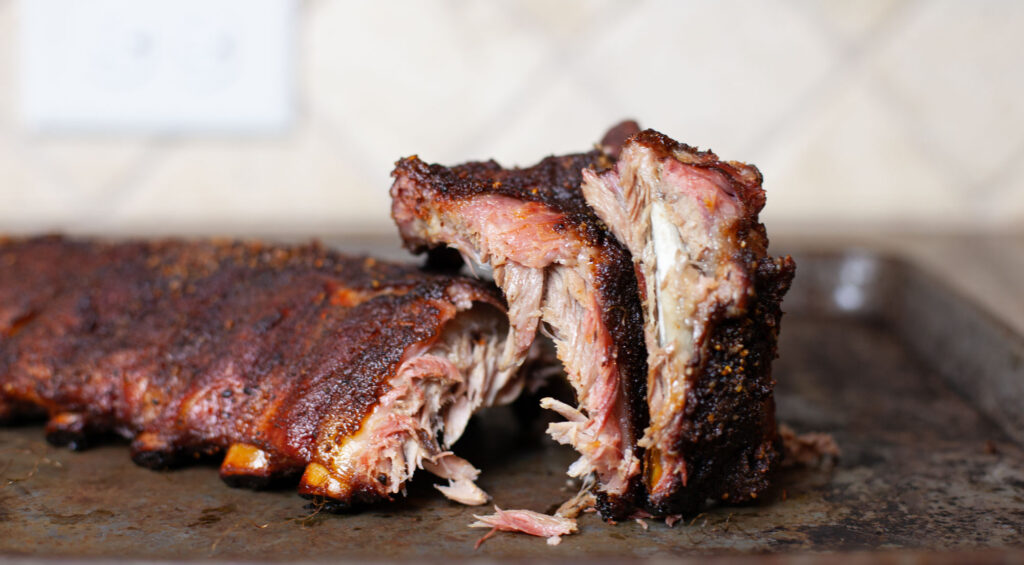
- Internal temperature: Slide a probe thermometer between two bones without touching the bone, as the bone will register hotter than the surrounding meat. Target 195°F to 203°F. At that range, collagen has fully converted to gelatin, and the meat releases cleanly from the bone. For reference, the USDA sets the minimum safe internal temperature for pork at 145°F, but most outdoor cooks cook ribs well past that for tenderness.
- Visual confirmation: Look for a deep mahogany color across the top, a firm, slightly dry bark surface, and at least a quarter inch of exposed bone at the rack ends.
The Rest, the Slice, and the Spread
Set the rack on a cutting board and tent it loosely with foil for 10 to 15 minutes. Carryover cooking continues briefly after the heat stops, and the juices redistribute evenly through the meat during the rest period. Cutting too soon sends those juices onto the board instead of into the first bite.
To slice, follow the valleys between the bones with a long, thin knife. Turning the rack bone-side up first makes the bone structure easier to trace and follow cleanly.
For the table, keep sides simple and let the ribs lead: cool, creamy coleslaw against warm pork, charred corn with herb butter, and thick-cut sourdough finished directly on the Summerset grate. A cold lager cuts through the richness cleanly. A glass of something oaked and red does it with a little more weight.
Quick Answers to Common Questions
Can a two-burner grill handle this method? Yes. Turn one burner to medium and leave the other completely off. Place the ribs over the cold side and follow the same three phases. Rotate the rack halfway through Phase 1 for more even distribution of heat.
Does wrapping reduce smoke flavor? No. Wrapping happens after the first two hours, by which point the meat has absorbed most of the smoke it will take on. Bark sets before the foil goes on, so you lose very little of the character you built in Phase 1.
Should ribs be boiled before grilling? No. Boiling pulls out flavor and undoes everything the slow cook builds. Take the rack straight from the rub rest and put it on the grill raw.
What if the bark is not forming properly? Bark needs dry, circulating heat to develop. Too much trapped moisture inside the grill keeps the exterior soft. Try cracking the lid slightly during the final 15 minutes of Phase 1, or raise the temperature briefly to 300°F to dry the surface before wrapping.
The Season Is Just Getting Started
Memorial Day is a starting point, not a finish line. The same method carries through every backyard gathering, lake trip, and slow summer evening ahead. Your Summerset grill is built for all of it: the long cooks, the unhurried afternoons, and the meals people ask about long after the plates are cleared.
Light the burner. The season is here.
Ready to build the outdoor kitchen these evenings deserve? Summerset offers a complete line of grills, side burners, refrigeration, sinks, dry storage, vent hoods, ovens, and more. Visit summersetgrills.com to start planning yours.