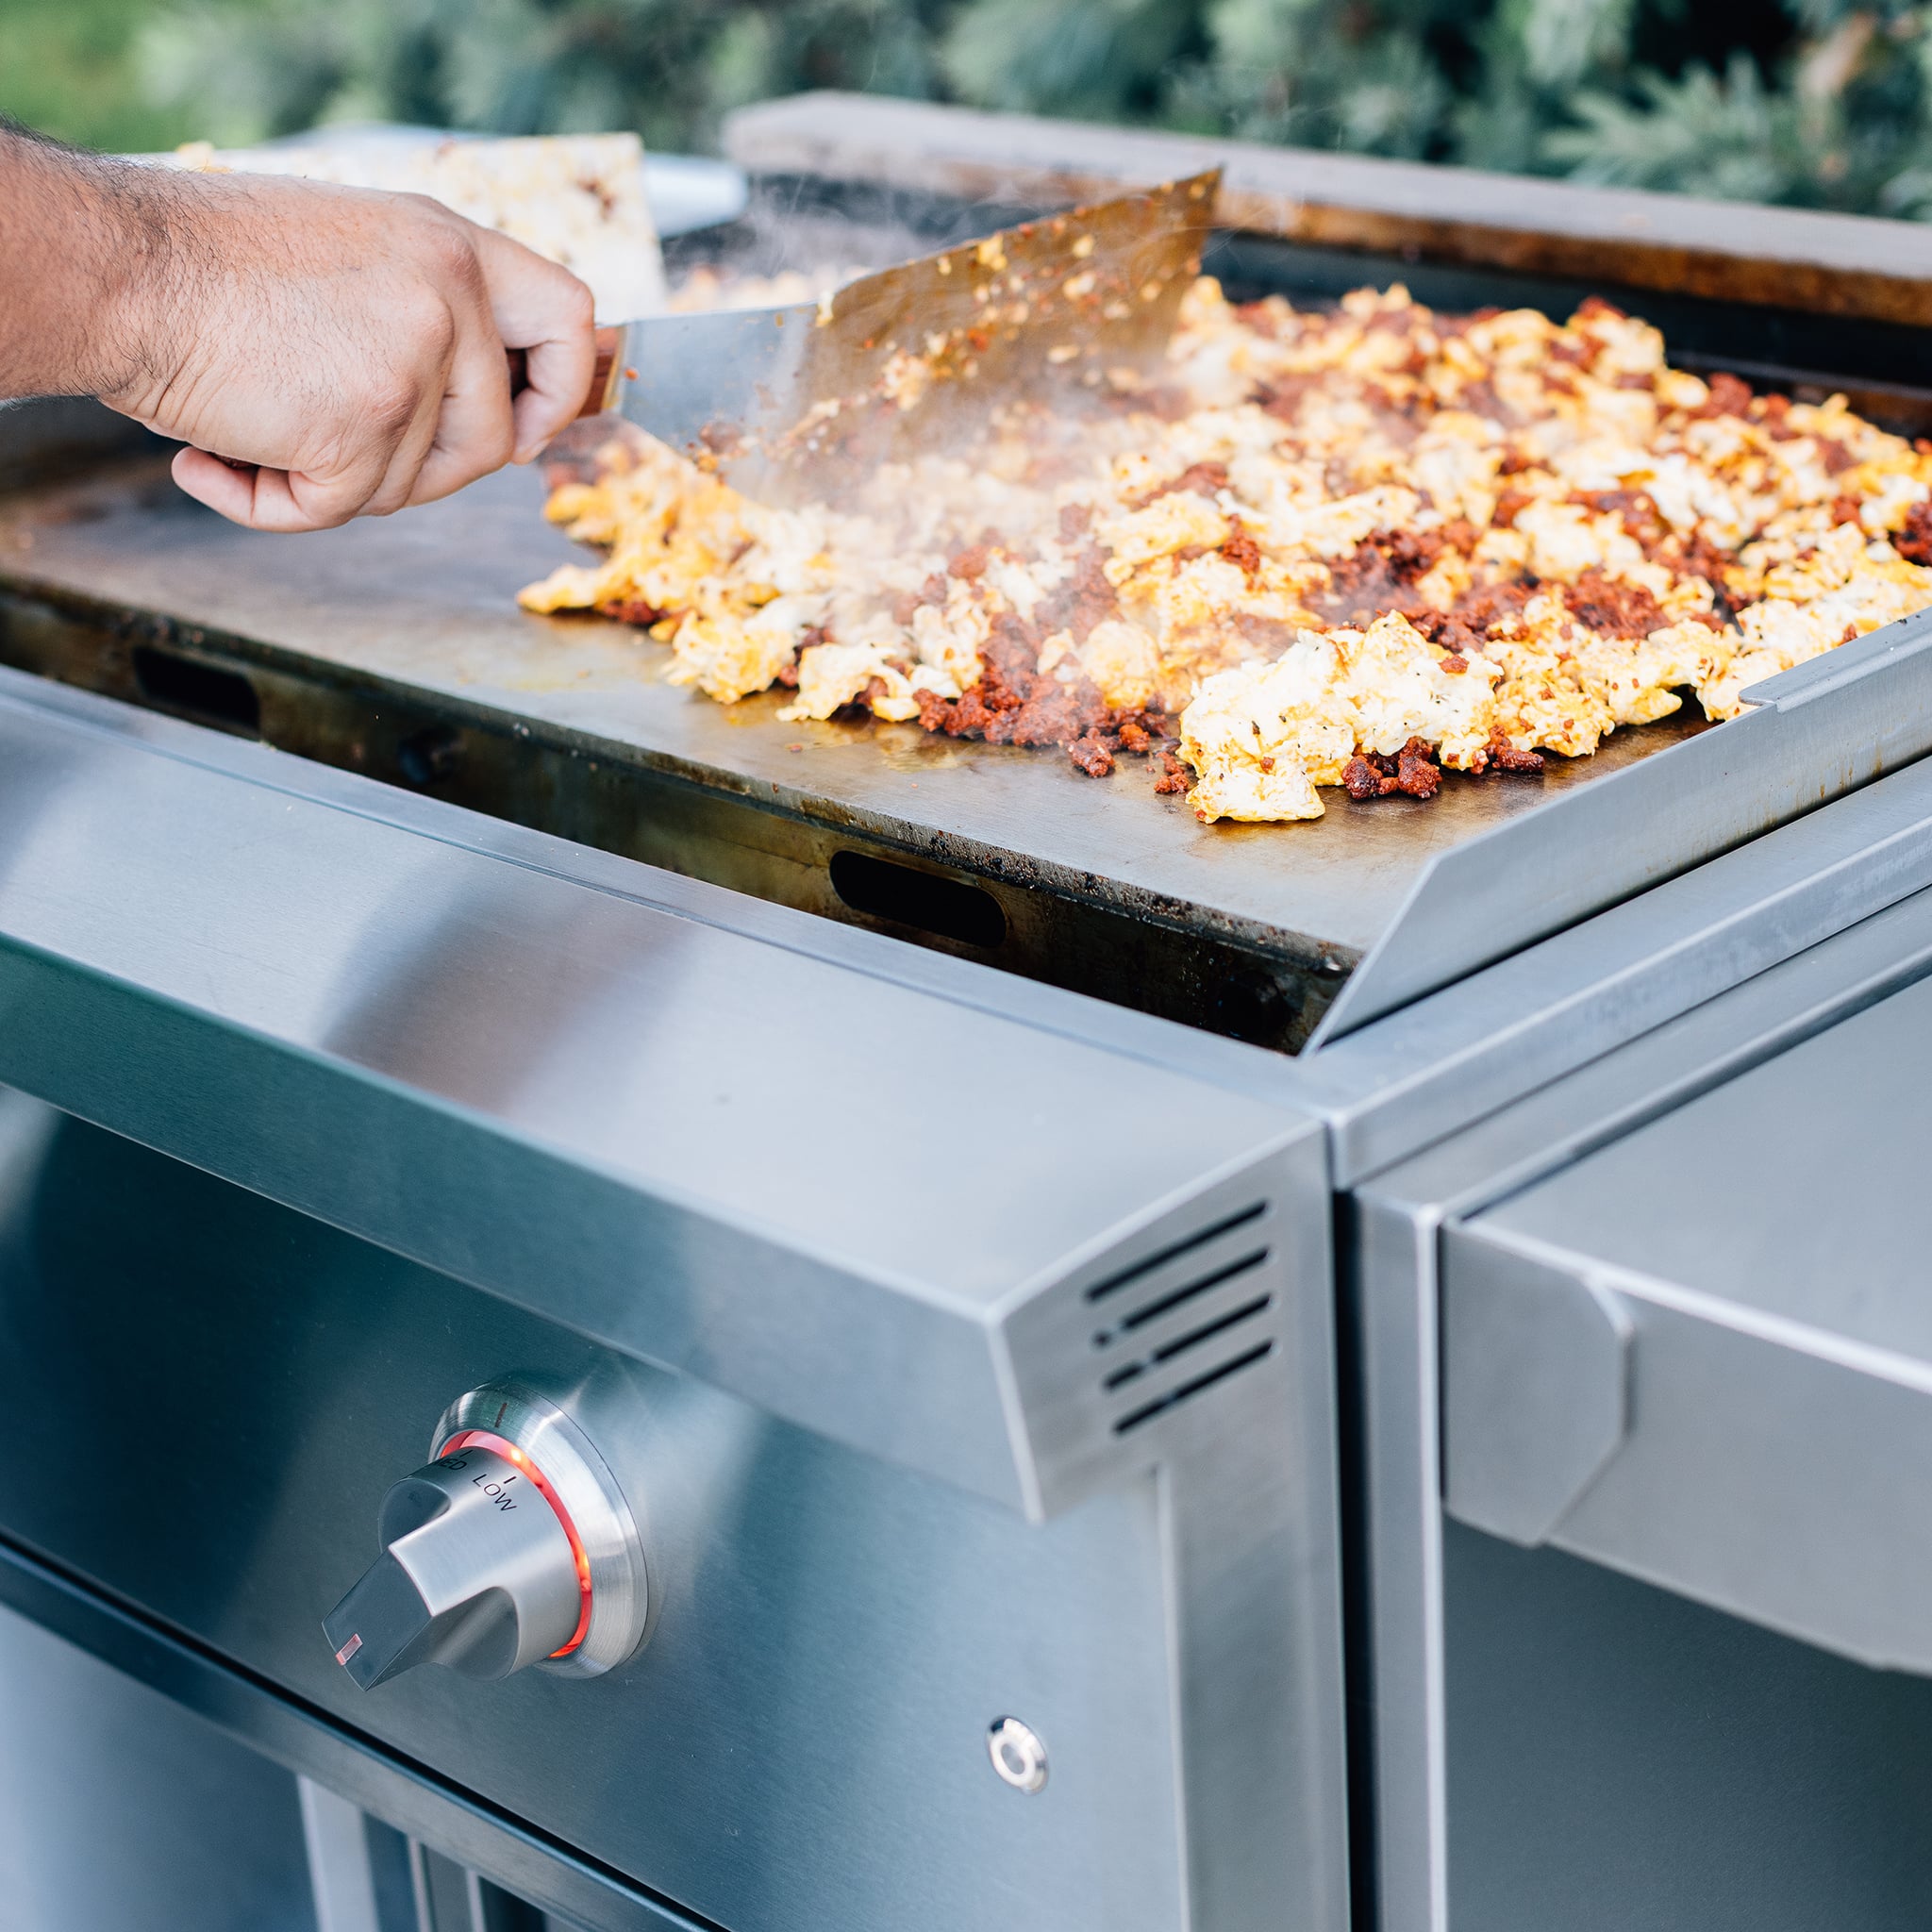
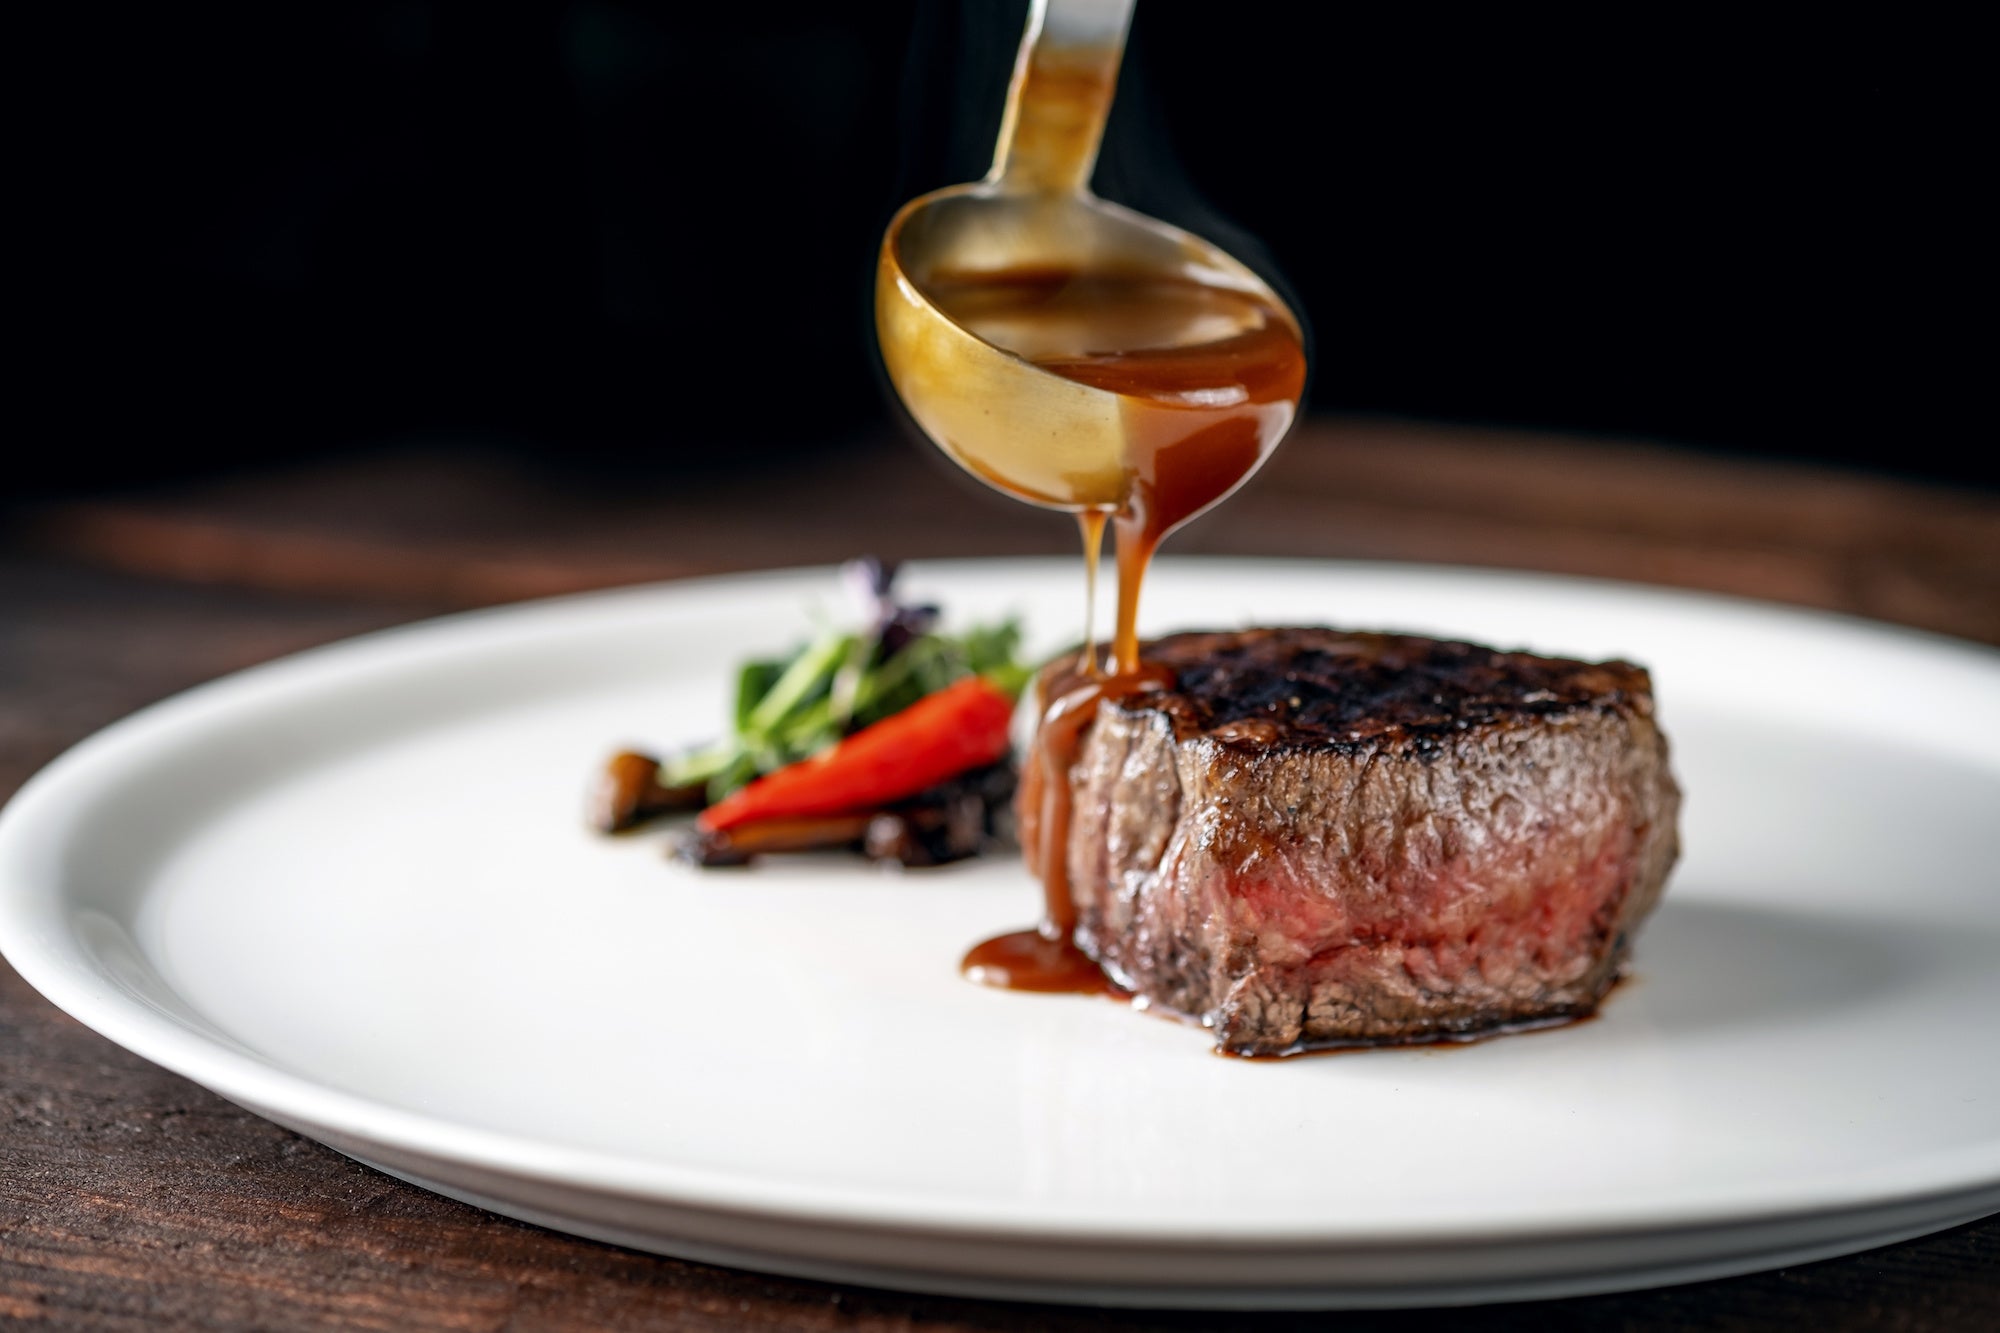
Grilling is an American pastime, and there are few things more satisfying than the smell of a hot summer evening coming from the backyard. The beauty is in simplicity, and by applying some patience and care, we can leave those past miscues behind. Here to help is 10 Tips for Grilling the Perfect Steak at Home every time.
Simplicity & Beauty
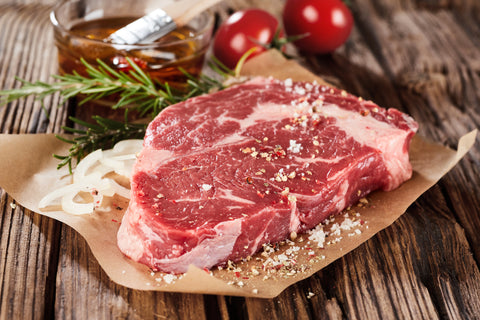
In the case of grilling the ideal steak, it’s all about simplicity. Some steak preparations demand complex marinades and rubs, which have their place depending on the occasion, but how to grill the perfect steak requires fewer things. It takes high-quality meat, some salt and pepper, and a methodical approach to getting it right.
The most significant barrier to excellent taste is rushing. The final performance can be affected by utilizing whatever is on sale, not allowing the raw steaks to come to room temperature, or flipping them on the grill too much. Those misses will no longer be a problem if you use some patience and attention while cooking steakhouse-level meals at home any time you wish.
Grill Like a Pro: 10 Tips for the Perfect Steak
01 | Cut – Everything Starts with Great Ingredients
For barbecuing, specific cuts of beef are preferable to others. Ribeyes have a lot of marbling, whereas Top Sirloin is more readily accessible and less expensive with less marbling. Some people believe that a Porterhouse combines the best features of both the New York Strip and filet mignon by connecting them via a thin T-shaped bone. Don’t overlook tougher, meatier cuts such as sirloin steak, hanger steak, skirt steak, or flank steak when grilling medium-rare and thinly sliced against the grain.
02 | Grade & Marbling – The Taste is in the Quality
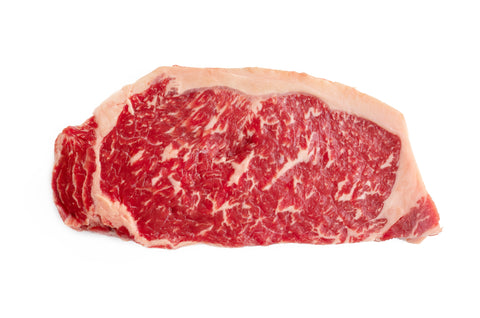
A lousy grade of beef spoils an excellent steak dinner. Prime is the highest quality standard, followed by Choice and Select. If possible, get USDA Prime or Certified Black Angus steaks. Choice-grade steak is a fantastic lower-cost option used in both restaurants and home kitchens. Also, pay attention to the marbling of thin white streaks of fat running through a steak that keeps it juicy and adds taste. Most importantly, form a relationship with a local butcher by asking when orders are received, how often their meat is replaced, and about specific cuts.
03 | Salt – The Essential Seasoning
The meat should be salted at least 15 minutes before grilling, if not overnight. The salt aids in the retention of moisture by the cells, ensuring that the flesh is juicy. Nowadays, sea salt is all the rage; alternatively, use Kosher salt. Using larger grains produces a superior crust compared with sea salt or Kosher salt.
04 | Rise to Room Temp for Uniform Cooking
Remove the steak from the fridge 20 minutes before grilling to bring it to room temperature. A frozen-cold steak won’t cook properly. Steaks that have been sliced at room temperature take in flavor and cook faster. However, meat takes time to prepare, so use your time wisely and learn to appreciate cooking your steak just as much as consuming it.

05 | Heat – Consistent Heat Makes All the Difference
Allow plenty of time for the grill to preheat. Make a three-zone fire: a hot zone for searing, a medium region for cooking, and a safe area to avoid flare-ups. High heat produces better color and taste than grilling over lower heat. If it’s sufficiently hot, you shouldn’t be able to hold your hand over the grates for more than two seconds.
06 | Patience – All Good Things Come
One of the most common blunders made by a home cook is checking the food constantly. Allow the steak to sear on the grill before moving or flipping it; otherwise, it will stick to the grates. As tempting as it is to touch, flip, handle, and pierce, leaving the steak alone will yield faster, superior results.
07 | Grill Marks – Make It Gorgeous
To create “cross-hatch” grill marks, use the hot grill. Set the steak down at a 45-degree angle from the grill lines. After about a quarter of the cooking time has elapsed, turn it over and repeat for the other side. Halfway through cooking, turn it over once more before removing it from the heat to get excellent grill marks on your steaks.
08 | The Touch Test – Texture is Everything
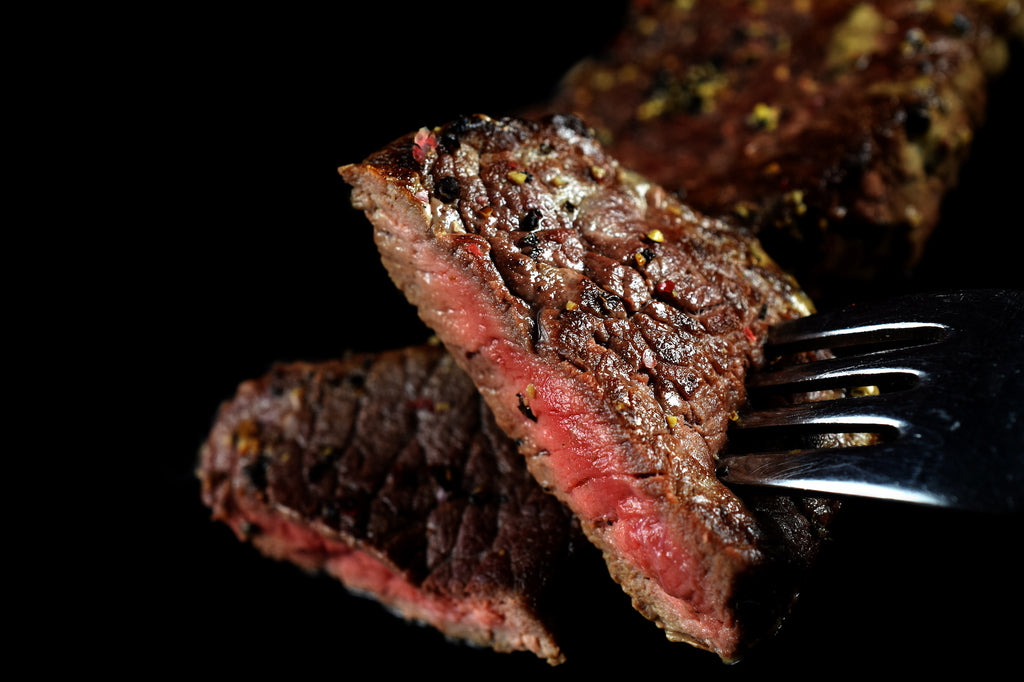
To test for doneness, poke the steak with your index finger. A rare steak is soft and spongy, while a medium one springs back when pressed, and a well-done steak is firm. Sticking a steak with a knife solely serves to drain out the juices. Also, because large steaks continue to cook after being removed from the grill, err on undercooking rather than overcooking it.
09 | Rest – Maybe the Most Common Mistake
I get it. The family is hungry, and they have been waiting, the sides are ready, and everyone, including the chef, is starving. Plan for at least five minutes before serving for the steak to rest. The fibers relax, juices spread, and colors recalibrate, so all the flavors are retained in that short time. If sliced too soon, the juices will run rather than remain where it belongs – in the steak! Three to eight minutes of calm does wonders for a steak–no foil tent needed.
10 | The Finishing Touch
A great steak is delicious, but complete it by adding a drizzle of olive oil, a pat of butter or compound butter, melted beef fat, or even a sauce. To avoid overcooking or serving a cold steak, plan the dinner to prepare any extras and side dishes, allowing you to concentrate on just the grilling.
Don’t Leave Your Grilling Skills to Chance!
Grilling the perfect steak is both an art and a science. By employing these basic techniques, you can confidently grill a steak that rivals any steakhouse. With practice, you’ll be able to master the perfect steak in your backyard.
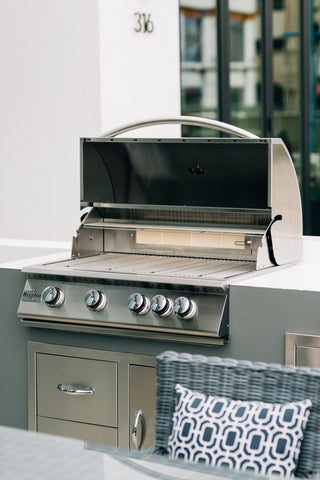
Summerset Grills is your partner for creating luxurious outdoor experiences. Whether you’re looking for grilling techniques, recipes, outdoor living inspiration for your backyard, or a new grill, Summerset Grills has you covered. Check out our blog or find a dealer to learn more about how we can help make your outdoor dreams a reality.

